Introduction to Landscape Astrophotography in So Ill: Part 1, Section 5 of 6
Execution - aka "Finally we get to take pictures!"
We recommend making a step-by-step checklist and eventually developing your own repeatable workflow for setting up your shots. Doing so will help everything run smoothly and efficiently and keep you from stressing out about settings or making mistakes that will come back to bite you. It's really hard to tell when some settings are wrong from the image previews on your camera. Then, if you did make a mistake, you view them on the computer the next day and your heart sinks.
To drive this point home, there will be a homework assignment later for exactly this purpose. We won't go over all the details here, but will suggest some steps to think about.
Planning - Do you have all of the necessary gear from the "Gear" section of this workshop? You don't need everything on that list, but make sure you have the camera, tripod, charged battery, memory card in the camera, and a few other essentials. Then consider any other items you may want. We will have the shot mostly planned out for that night and will be keeping it simple with the group but normally, if you're not an off-the-cuff shooter, you'll also want to have a plan for the what/where/when of your shots.
Setup - get your tripod and camera set up where you want them and make sure you have any other gear ready/handy so you aren't using your lights during shooting.
Preview shots - If you are trying to include a foreground composition, throw everything we told you about shutter speed and ISO out the window. Set your aperture to the lowest number, your shutter speed around 30 seconds, and your ISO quite high (10,000 or higher). This will allow us to pick up more detail in the foreground so we can get an idea of what is out there in the dark. Take the shot. Check the result. Is the foreground where you want it? Is the horizon level? Is this the exact composition you want? If not, adjust and try again. If so, then you're ready to move on.
 |
| This is a preview image I took at ISO 12,800 to help frame up the spillway. It almost looks useable until you look a little closer. The zoom box shows how noisy (grainy) the image is. (c) John O'Connell 2020 |
Capturing the sky - Go through your checklist and make sure you have all of the settings correct. Refer back to our "Camera Settings" section for details. Double-check that list. Double-check focus; you'd be surprised how easy it is to bump the lens ever so slightly out of focus! Set the timer or connect your remote and start shooting.
Check your sky shot - Make adjustments if needed to focus if blurry, shutter speed if trailing or too dark, ISO if too dark or too noisy, etc.
Optional advanced technique: Shoot it again, and again? - It could be useful to have spares just in case you don't notice something in the shot like a plane or someone's headlamp. Also, we haven't discussed it, but if you take 5-20 consecutive shots, you may be able to use a technique called "stacking" that will help smooth out some of the noise in your images. That's an "Optional advanced technique" that we may show during the editing session if we have time. Some folks prefer to only work off the single exposures and that approach has its merit too.
Optional advanced technique: Darks - If you want to help reduce noise that arises from long exposures (different than high ISO noise), take a series of several images with all the same settings and your lens cap on. You can subtract these images that should only show "hot/stuck pixels" from your sky images in Photoshop to remove some of that noise.
| It may be hard to see, but this is a "dark" exposure. You'd expect it to be pure black. But when you zoom in as I have done with a small box on the left side, you'll see that there are some lighter pixels. Some may be from other noise sources, but the bright blue/purple may be a "hot" or "stuck" pixel. Averaging multiple darks will help ensure that you are only subtracting those hot pixels. |
Optional advanced technique: Foreground exposures? - Unless there is a light source like a partial moon, a nearby streetlight, or your own artificial lighting during your sky shots, your foreground will likely be pretty dim. We won't go into great detail about foreground exposures, but you have a few options to take additional images exposed such that the foreground detail shows up. You can later blend the sky shots with the foreground shots in Photoshop. These include using much higher ISO (often in conjunction with stacking) or much longer exposures (sometimes upward of 10 minutes), waiting for "blue hour" when the sky and world start to get a bit light prior to sunrise, or waiting for the moon to rise. Depending on the method you use, you may want to take darks for the foreground shots too, using the same settings as the foreground shots. Word of warning though: this can be very tedious and it can be very difficult to get a clean blending of the two images, especially when there are trees. Guess what we have a lot of in the national forest.
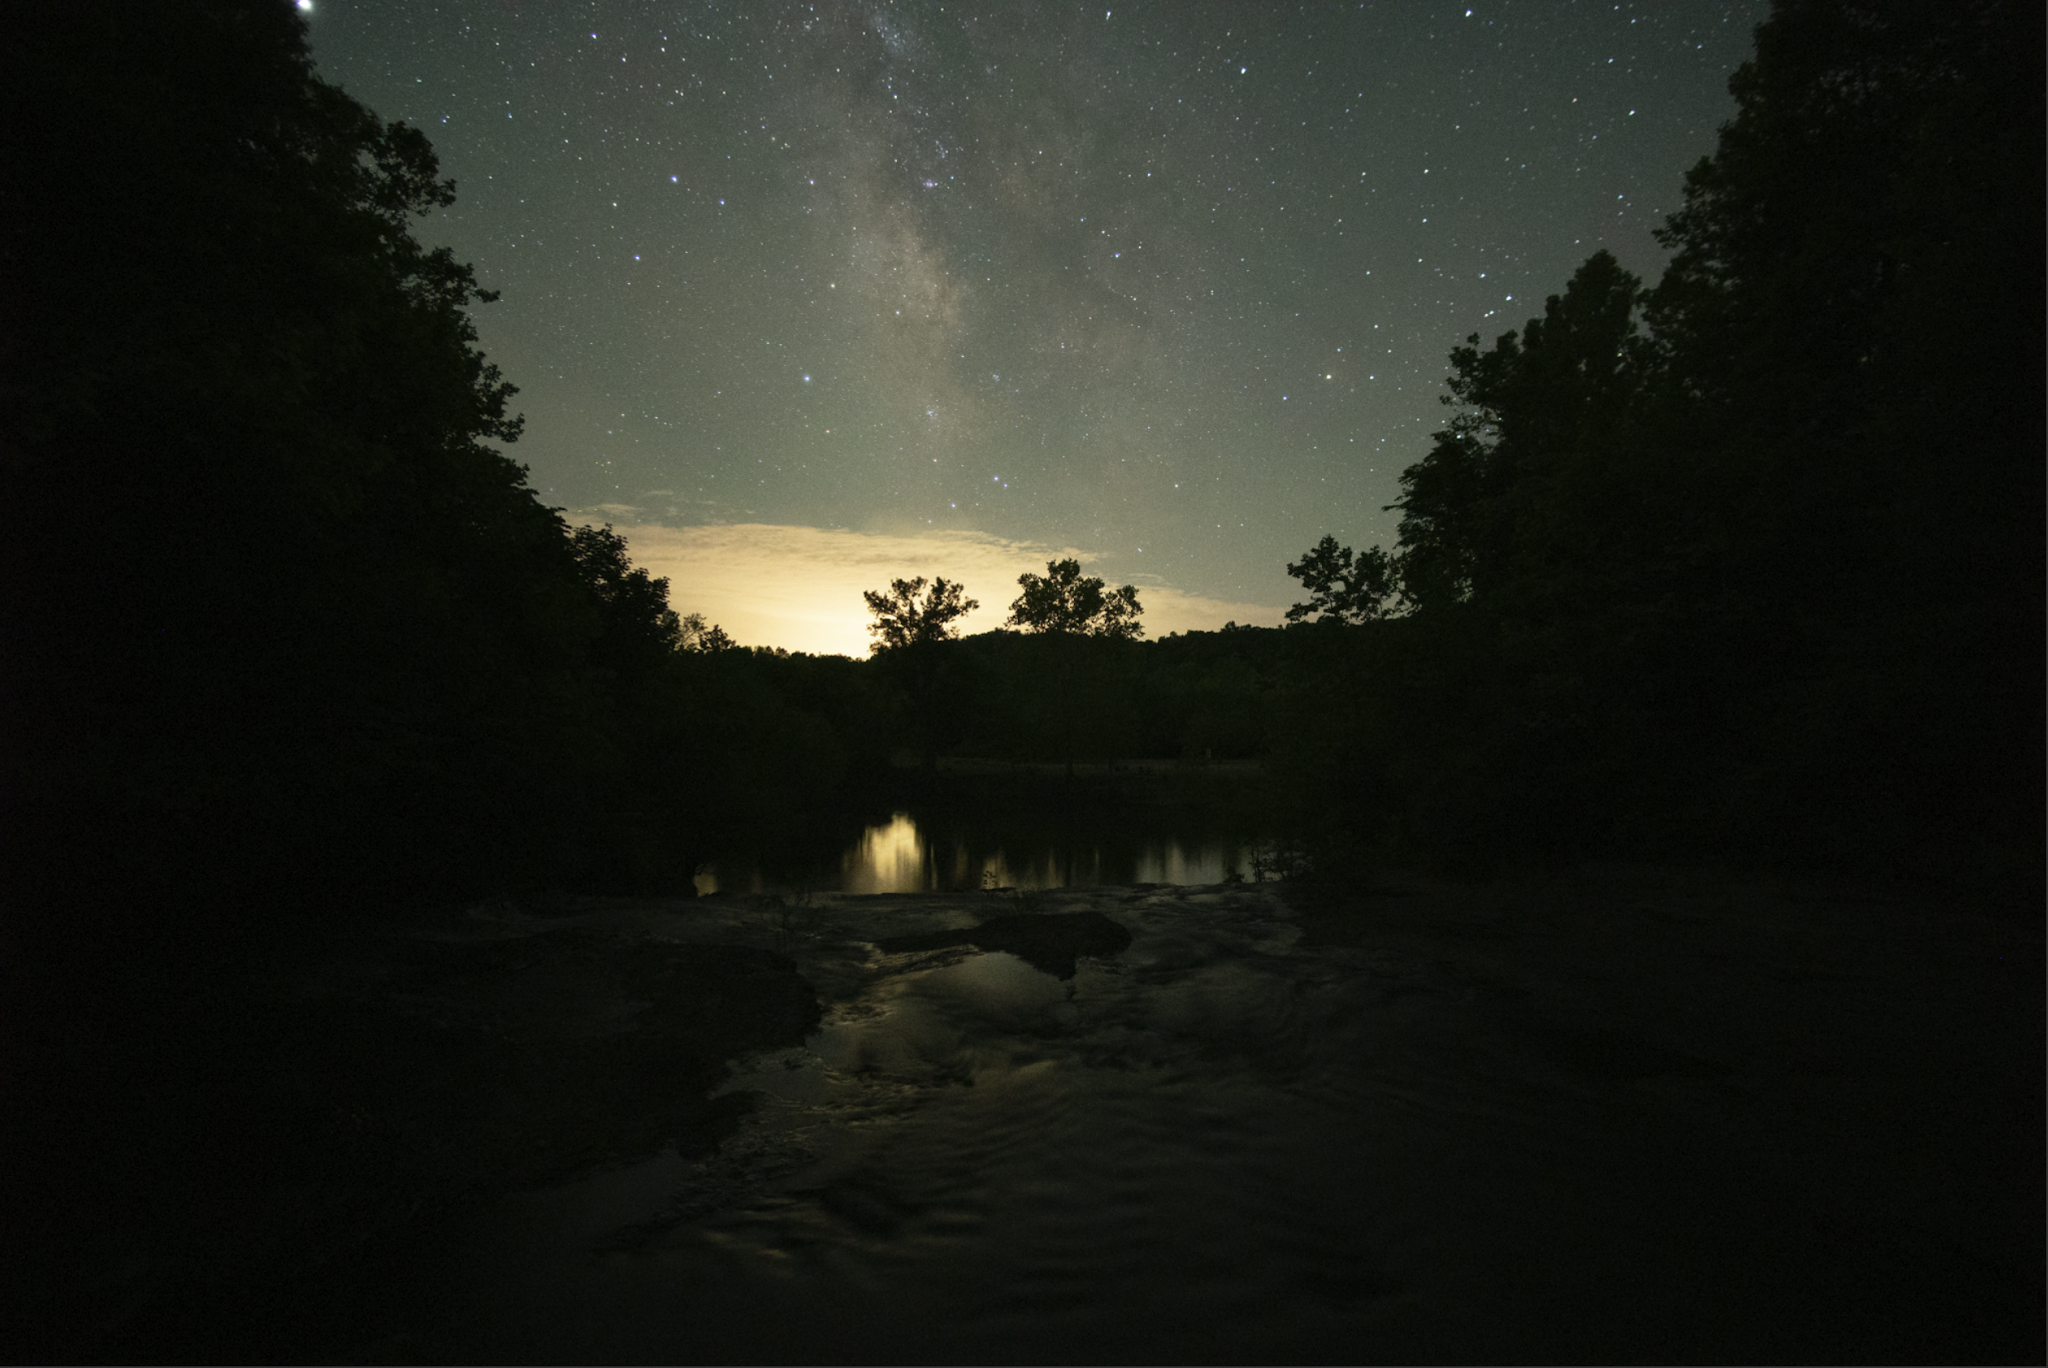 |
| This was a decent exposure for the Milky Way, but the foreground has almost no details and is mostly black. (c) John O'Connell 2020 |
 |
| A longer exposure helped gather enough light to see some of the detail in the foreground. These two images could later be combined into one. (c) John O'Connell 2020 Continue to Section 6 of 6 |


Comments
Post a Comment